Router Implementation
Previous Post
Implementing Login with Axum, Diesel, and PostgreSQL (Part 1)
Setting Up the Router Structure
Continuing from Part 1, we’ll build a complete login system with proper routing and frontend integration. Let’s start by creating a proper UI and then implement the server-side routing logic.
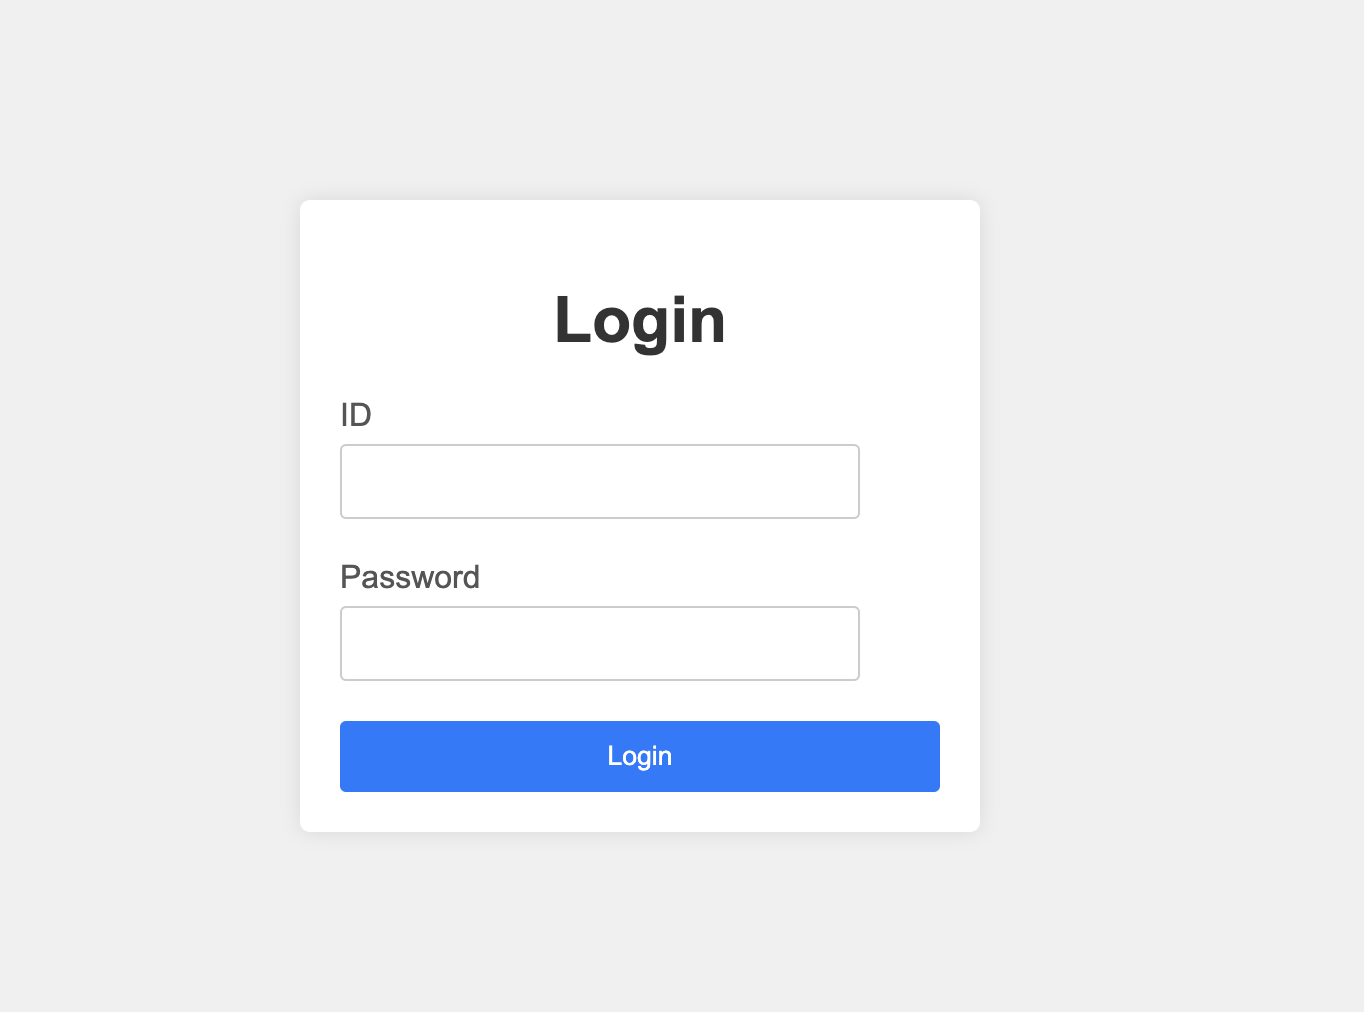
1. Enhancing the Login Page
First, let’s update our index.html with a proper login form:
1
2
3
4
5
6
7
8
9
10
11
12
13
14
15
16
17
18
19
20
21
22
23
24
25
26
27
28
29
30
31
32
33
34
35
36
37
38
39
40
41
42
43
44
45
46
47
48
49
50
51
52
53
54
55
56
57
58
59
60
61
62
63
64
65
66
67
68
69
70
71
72
73
74
75
76
77
78
79
80
81
82
83
84
85
86
87
88
89
90
91
92
93
94
95
96
97
98
99
100
101
102
<!DOCTYPE html>
<html lang="en">
<head>
    <meta charset="UTF-8">
    <meta name="viewport" content="width=device-width, initial-scale=1.0">
    <title>Login System</title>
    <style>
        body {
            font-family: Arial, sans-serif;
            background-color: #f0f0f0;
            margin: 0;
            padding: 0;
            display: flex;
            justify-content: center;
            align-items: center;
            height: 100vh;
        }
        .login-container {
            width: 300px;
            background-color: #ffffff;
            padding: 20px;
            border-radius: 5px;
            box-shadow: 0 0 10px rgba(0, 0, 0, 0.1);
        }
        .login-container h1 {
            text-align: center;
            color: #333;
            margin-bottom: 20px;
        }
        .login-container label {
            display: block;
            margin-bottom: 5px;
            color: #555;
        }
        .login-container input[type="text"],
        .login-container input[type="password"] {
            width: calc(100% - 40px);
            padding: 10px;
            margin-bottom: 20px;
            border: 1px solid #ccc;
            border-radius: 3px;
            box-sizing: border-box;
        }
        .login-container button {
            width: 100%;
            padding: 10px;
            border: none;
            background-color: #007bff;
            color: #fff;
            cursor: pointer;
            border-radius: 3px;
            box-sizing: border-box;
        }
        .login-container button:hover {
            background-color: #0056b3;
        }
    </style>
</head>
<body>
    <div class="login-container">
        <h1>Login</h1>
        <label for="id">ID</label>
        <input id="id" type="text" />
        <label for="pw">Password</label>
        <input id="pw" type="password" value="" />
        <button onclick="login_btn()">Login</button>
    </div>

    <script>
        function login_btn() {
            let id = document.getElementById("id");
            let pw = document.getElementById("pw");
            const data = { id: id.value, pw: pw.value };

            fetch('http://localhost:3000/login', {
                method: 'POST',
                headers: {
                    'Content-Type': 'application/json'
                },
                body: JSON.stringify(data)
            })
            .then(response => {
                if (!response.ok) {
                    throw new Error('Network response was not ok');
                }
                return response.json();
            })
            .then(data => {
                if (data.result == true) {
                    location.href = 'http://localhost:3000/success';
                } else {
                    location.href = 'http://localhost:3000/error';
                }
                console.log(data);
            })
            .catch(error => {
                console.error('There has been a problem with your fetch operation:', error);
            });
        }
    </script>
</body>
</html>
The login form will look like this:
2. Creating Success and Error Pages
Create two simple HTML pages for handling login results:
success.html:
1
2
3
4
5
6
7
8
9
10
11
<!DOCTYPE html>
<html lang="en">
<head>
    <meta charset="UTF-8">
    <meta name="viewport" content="width=device-width, initial-scale=1.0">
    <title>Login Success</title>
</head>
<body>
    <h1>Login Successful!</h1>
</body>
</html>
error.html:
1
2
3
4
5
6
7
8
9
10
11
<!DOCTYPE html>
<html lang="en">
<head>
    <meta charset="UTF-8">
    <meta name="viewport" content="width=device-width, initial-scale=1.0">
    <title>Login Error</title>
</head>
<body>
    <h1>Login Failed</h1>
</body>
</html>
3. Setting Up the Router Structure
Create a router folder with the following structure:
1
2
3
4
router/
├── mod.rs
├── auth.rs
└── pages.rs
In mod.rs:
1
2
pub mod auth;
pub mod pages;
4. Creating the Login Model
Create a model folder with auth.rs:
1
2
3
4
5
6
7
use serde::Deserialize;

#[derive(Deserialize, Debug)]
pub struct LoginUser {
    pub id: String,
    pub pw: String,
}
5. Implementing the Login Handler
In router/auth.rs:
1
2
3
4
5
6
7
8
9
10
11
12
13
14
15
use crate::model::auth::LoginUser;
use axum::response::Json;
use serde_json::{json, Value};

pub async fn login(Json(user): Json<LoginUser>) -> Json<Value> {
    println!("{}", user.id);
    println!("{}", user.pw);

    // Simple authentication (replace with database check later)
    if user.id == "abcd" && user.pw == "1234" {
        Json(json!({ "result": true }))
    } else {
        Json(json!({ "result": false }))
    }
}
6. Updating the Main Application
Update lib.rs to include all routes:
1
2
3
4
5
6
7
8
9
10
11
12
13
14
15
16
17
pub mod router;
use axum::{response::Html, routing::{get, post}, Router};
use router::auth::login;

pub async fn run() {
    let app = Router::new()
        .route("/", get(index))
        .route("/login", post(login))
        .route("/success", get(success))
        .route("/error", get(error));

    let listener = tokio::net::TcpListener::bind("127.0.0.1:3000")
        .await
        .unwrap();
    println!("listening on {}", listener.local_addr().unwrap());
    axum::serve(listener, app).await.unwrap();
}
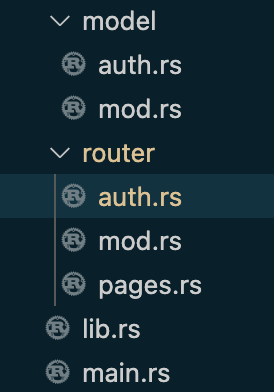
Your project structure should now look like this:
Testing the Login Flow
With everything set up, you can now test the login functionality:
- Use ID: “abcd” and Password: “1234” for successful login
- Any other combination will result in an error
Here’s how it works:
Complete Source Code
You can find the complete source code for this tutorial on GitHub:
Next Steps
In Part 3, we’ll:
- Integrate PostgreSQL database
- Set up Diesel ORM
- Implement proper password hashing
- Add user registration
- Create proper session management
Stay tuned for the next part where we’ll replace our hardcoded credentials with a proper database implementation!