🔍 OpenCV with Rust: The Complete Guide
📚 Table of Contents
- Introduction to OpenCV
- Key Features
- Installation Guide
- Core Modules
- Implementation Example
- Next Steps
Introduction
OpenCV (Open Source Computer Vision Library) is Intel’s powerful toolkit for real-time computer vision. While traditionally associated with C++ and Python, it can be seamlessly integrated with Rust to combine the safety and performance of Rust with OpenCV’s robust computer vision capabilities.
Key Features ✨
Image Processing
- Rotation and resizing
- Advanced filtering
- Line detection
- Real-time processing
Object Detection
- Haar cascade implementations
- Feature extraction
- Object tracking
- Image segmentation
Machine Learning Integration
- Support Vector Machine (SVM)
- k-Nearest Neighbors (k-NN)
- Decision Trees
- Deep Learning framework compatibility
Real-time Capabilities
- Camera capture support
- Live video processing
- Interactive display features
Installation
1. Setup Homebrew (M1/M2 Mac)
1
/bin/bash -c "$(curl -fsSL https://raw.githubusercontent.com/Homebrew/install/HEAD/install.sh)"
2. Install Required Libraries
1
2
3
4
brew install pkg-config
brew install cmake
brew install --debug llvm-dev
brew install libopencv-dev
3. Configure Environment
Add these lines to your ~/.zshrc:
1
2
3
4
export PATH="/opt/homebrew/opt/llvm/bin:$PATH"
export LDFLAGS="-L/opt/homebrew/opt/llvm/lib"
export CPPFLAGS="-I/opt/homebrew/opt/llvm/include"
export PATH="/usr/local/opt/llvm/bin:$PATH"
Core Modules
1. Core Module 🔧
The foundation of OpenCV functionality:
1
2
3
4
5
// Core structures
Mat       // Matrix representation for images
Point     // 2D point coordinates
Rect      // Rectangle definitions
Scalar    // Color values (BGR/HSV)
2. Highgui Module 🖼️
Handles graphical user interface operations:
- Window management
- Image display
- Mouse handling
- Trackbar implementation
3. Imgproc Module 🎨
Image processing capabilities:
- Color space conversion
- Image resizing
- Gaussian blur effects
- Edge detection (Canny)
4. Imgcodecs Module 💾
Handles image file operations:
- Image reading (
imread) - Image writing (
imwrite) - Format conversion
Implementation
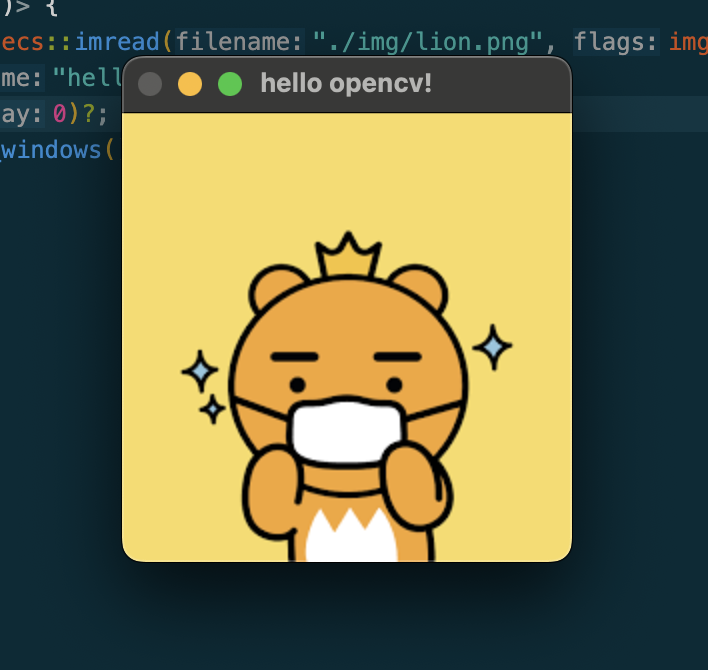
Here’s a complete example demonstrating how to load and display an image using OpenCV in Rust:
1
2
3
4
5
6
7
8
9
10
11
12
13
14
15
16
17
18
19
20
use opencv::{Result, core, highgui, imgcodecs, imgproc};

pub fn main() -> Result<()> {
    // Load image in color mode
    let src = imgcodecs::imread(
        "./img/lion.png",
        imgcodecs::IMREAD_COLOR
    )?;

    // Display the image
    highgui::imshow("OpenCV with Rust!", &src)?;

    // Wait for user input (0 = wait indefinitely)
    highgui::wait_key(0)?;

    // Clean up windows
    highgui::destroy_all_windows()?;

    Ok(())
}
Code Breakdown 🔍
- Image Loading
1
let src = imgcodecs::imread("./img/lion.png", imgcodecs::IMREAD_COLOR)?;
- Loads image in BGR color format
- Returns a
Matobject containing the image data
- Display
1
highgui::imshow("OpenCV with Rust!", &src)?;
- Creates a window with the specified name
- Shows the image in that window
- User Interaction
1
highgui::wait_key(0)?;
- Waits for a keyboard input
0means wait indefinitely- Returns the Unicode value of pressed key
- Cleanup
1
highgui::destroy_all_windows()?;
- Properly closes all OpenCV windows
- Prevents memory leaks and resource issues

Next Steps 🚀
Advanced Topics to Explore
- Real-time video processing
- Face detection implementation
- Custom filter creation
- Integration with machine learning models
Best Practices
- Always handle errors properly using Rust’s
Resulttype - Clean up resources with
destroy_all_windows() - Use appropriate color spaces for your use case
- Consider performance optimization for real-time applications
🔍 Further Reading
💻 Practice Projects
- Build a real-time face detector
- Create an image filter application
- Implement a document scanner
- Develop a motion detection system
Remember to join the Rust and OpenCV communities on platforms like Reddit and GitHub to stay updated with the latest developments and best practices!