Hello Axum
What is Axum?
Axum is a web application framework for building server-side applications using Rust. It’s built on top of Tokio and Hyper, providing a robust and efficient foundation for creating web services. Some key features include:
- Type-safe routing and handler extraction
- Built-in middleware support
- Excellent async/await integration
- Tower integration for middleware composition
- Strong type system leveraging Rust’s safety guarantees

Getting Started
Prerequisites
Before we begin, make sure you have Rust installed on your system. If you haven’t installed Rust yet, you can get it from the official website:
Project Setup
- First, create a new Rust project:
1
2
cargo new axum-login
cd axum-login
- Add the required dependencies to your
Cargo.toml:
1
2
3
[dependencies]
tokio = { version = "1.36.0", features = ["full"] }
axum = "0.7.5"
Project Structure
Your project should have the following basic structure:

The key files we’ll be working with are:
main.rs: Entry point of our applicationlib.rs: Core application logicindex.html: Our landing page
Creating Your First Axum Server
Let’s break down the implementation into three parts:
1. Main Entry Point
Create a main.rs file that will serve as the entry point of our application:
1
2
3
4
5
6
use axum_login::run;

#[tokio::main]
async fn main() {
    run().await;
}
2. Application Logic
In lib.rs, we’ll define our server setup and routing:
1
2
3
4
5
6
7
8
9
10
11
12
13
14
15
16
17
18
19
20
21
22
use axum::{response::Html, routing::get, Router};
use tokio;

pub async fn run() {
    // Create a new router with a single route
    let app = Router::new().route("/", get(index));

    // Create a TCP listener bound to localhost:3000
    let listener = tokio::net::TcpListener::bind("127.0.0.1:3000")
        .await
        .unwrap();
    println!("listening on {}", listener.local_addr().unwrap());

    // Start the server
    axum::serve(listener, app).await.unwrap();
}

// Handler for the root path
async fn index() -> Html<&'static str> {
    let html_content = include_str!("../index.html");
    Html(html_content)
}
3. Basic HTML Template
Create an index.html file with a simple welcome message:
1
2
3
4
5
6
7
8
9
10
11
<!DOCTYPE html>
<html lang="en">
<head>
    <meta charset="UTF-8">
    <meta name="viewport" content="width=device-width, initial-scale=1.0">
    <title>Axum Login Demo</title>
</head>
<body>
    <h1>Hello World!</h1>
</body>
</html>
Running the Application
To start your server, run:
1
cargo run
You should see the output:
1
listening on 127.0.0.1:3000
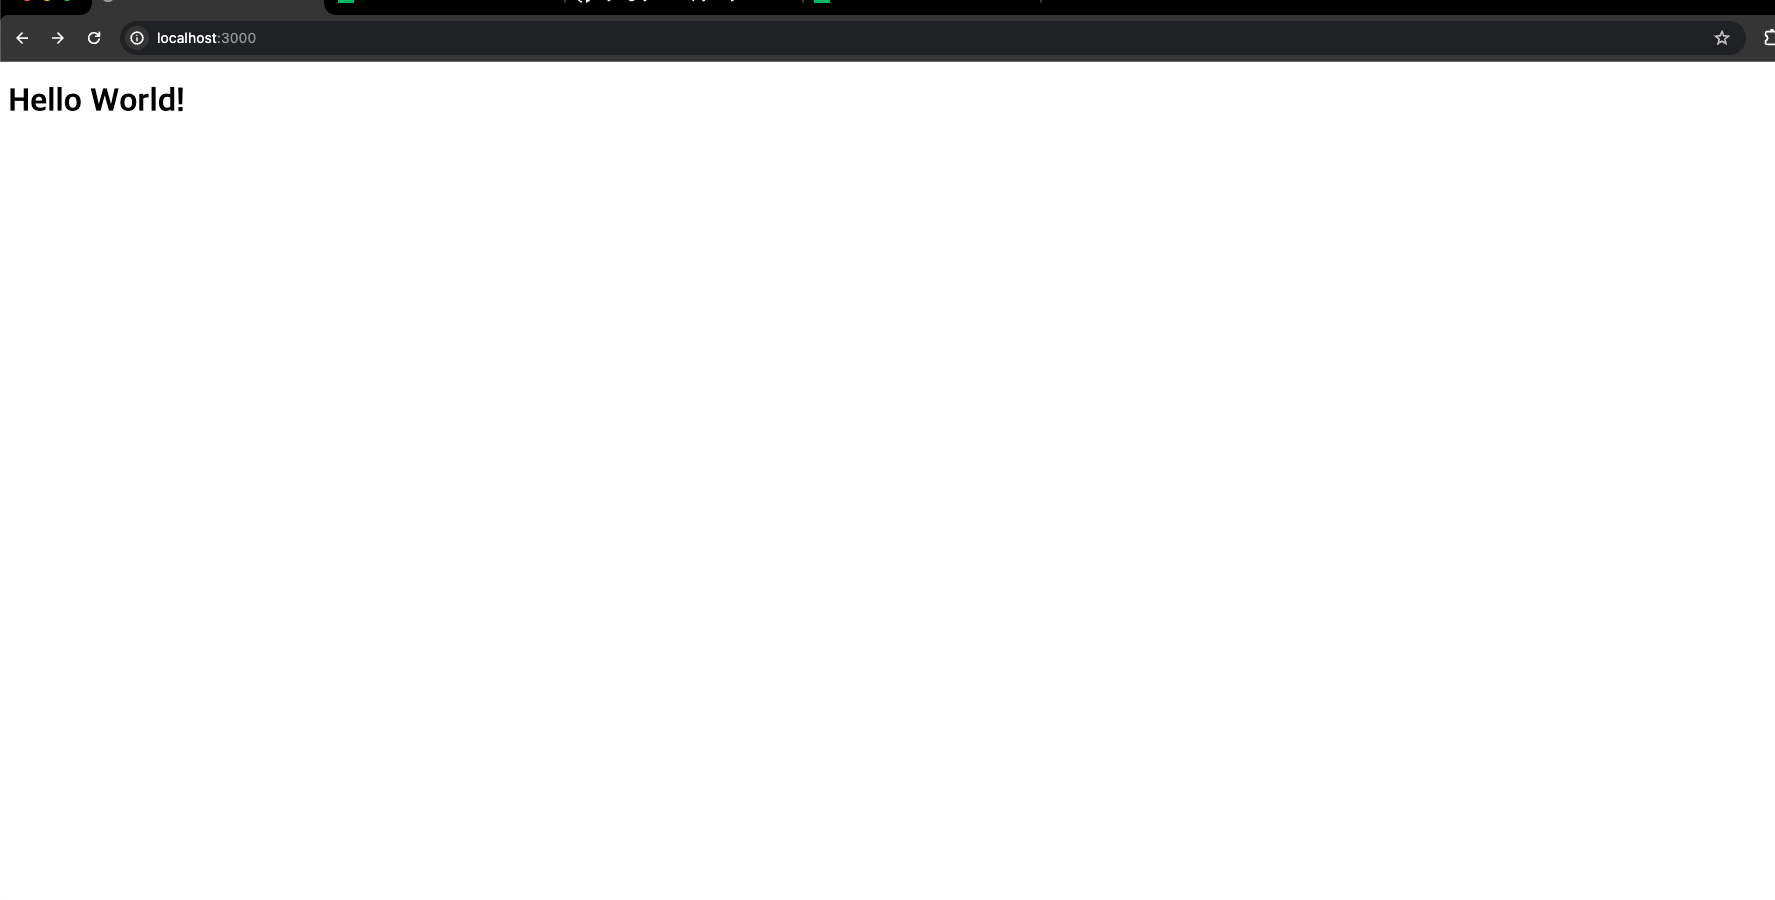
Now you can visit http://localhost:3000 in your browser to see your welcome message:
Complete Code
Here’s the complete application code for reference:
1
2
3
4
5
6
7
8
9
10
11
12
13
14
15
16
17
18
19
20
21
22
// lib.rs
pub mod db;
pub mod model;
pub mod router;

use axum::{response::Html, routing::get, Router};
use tokio;

pub async fn run() {
    let app = Router::new().route("/", get(index));

    let listener = tokio::net::TcpListener::bind("127.0.0.1:3000")
        .await
        .unwrap();
    println!("listening on {}", listener.local_addr().unwrap());
    axum::serve(listener, app).await.unwrap();
}

async fn index() -> Html<&'static str> {
    let html_content = include_str!("../index.html");
    Html(html_content)
}
Next Steps
In the next part of this series, we’ll:
- Set up PostgreSQL and configure Diesel ORM
- Create user models and database migrations
- Implement user registration endpoints
- Add password hashing and validation
- Create authentication middleware
Stay tuned for Part 2 where we’ll dive into database integration and user management!